Resin Coaster Making Kit – Drippy
By A Mystery Man Writer
Last updated 18 Jul 2024
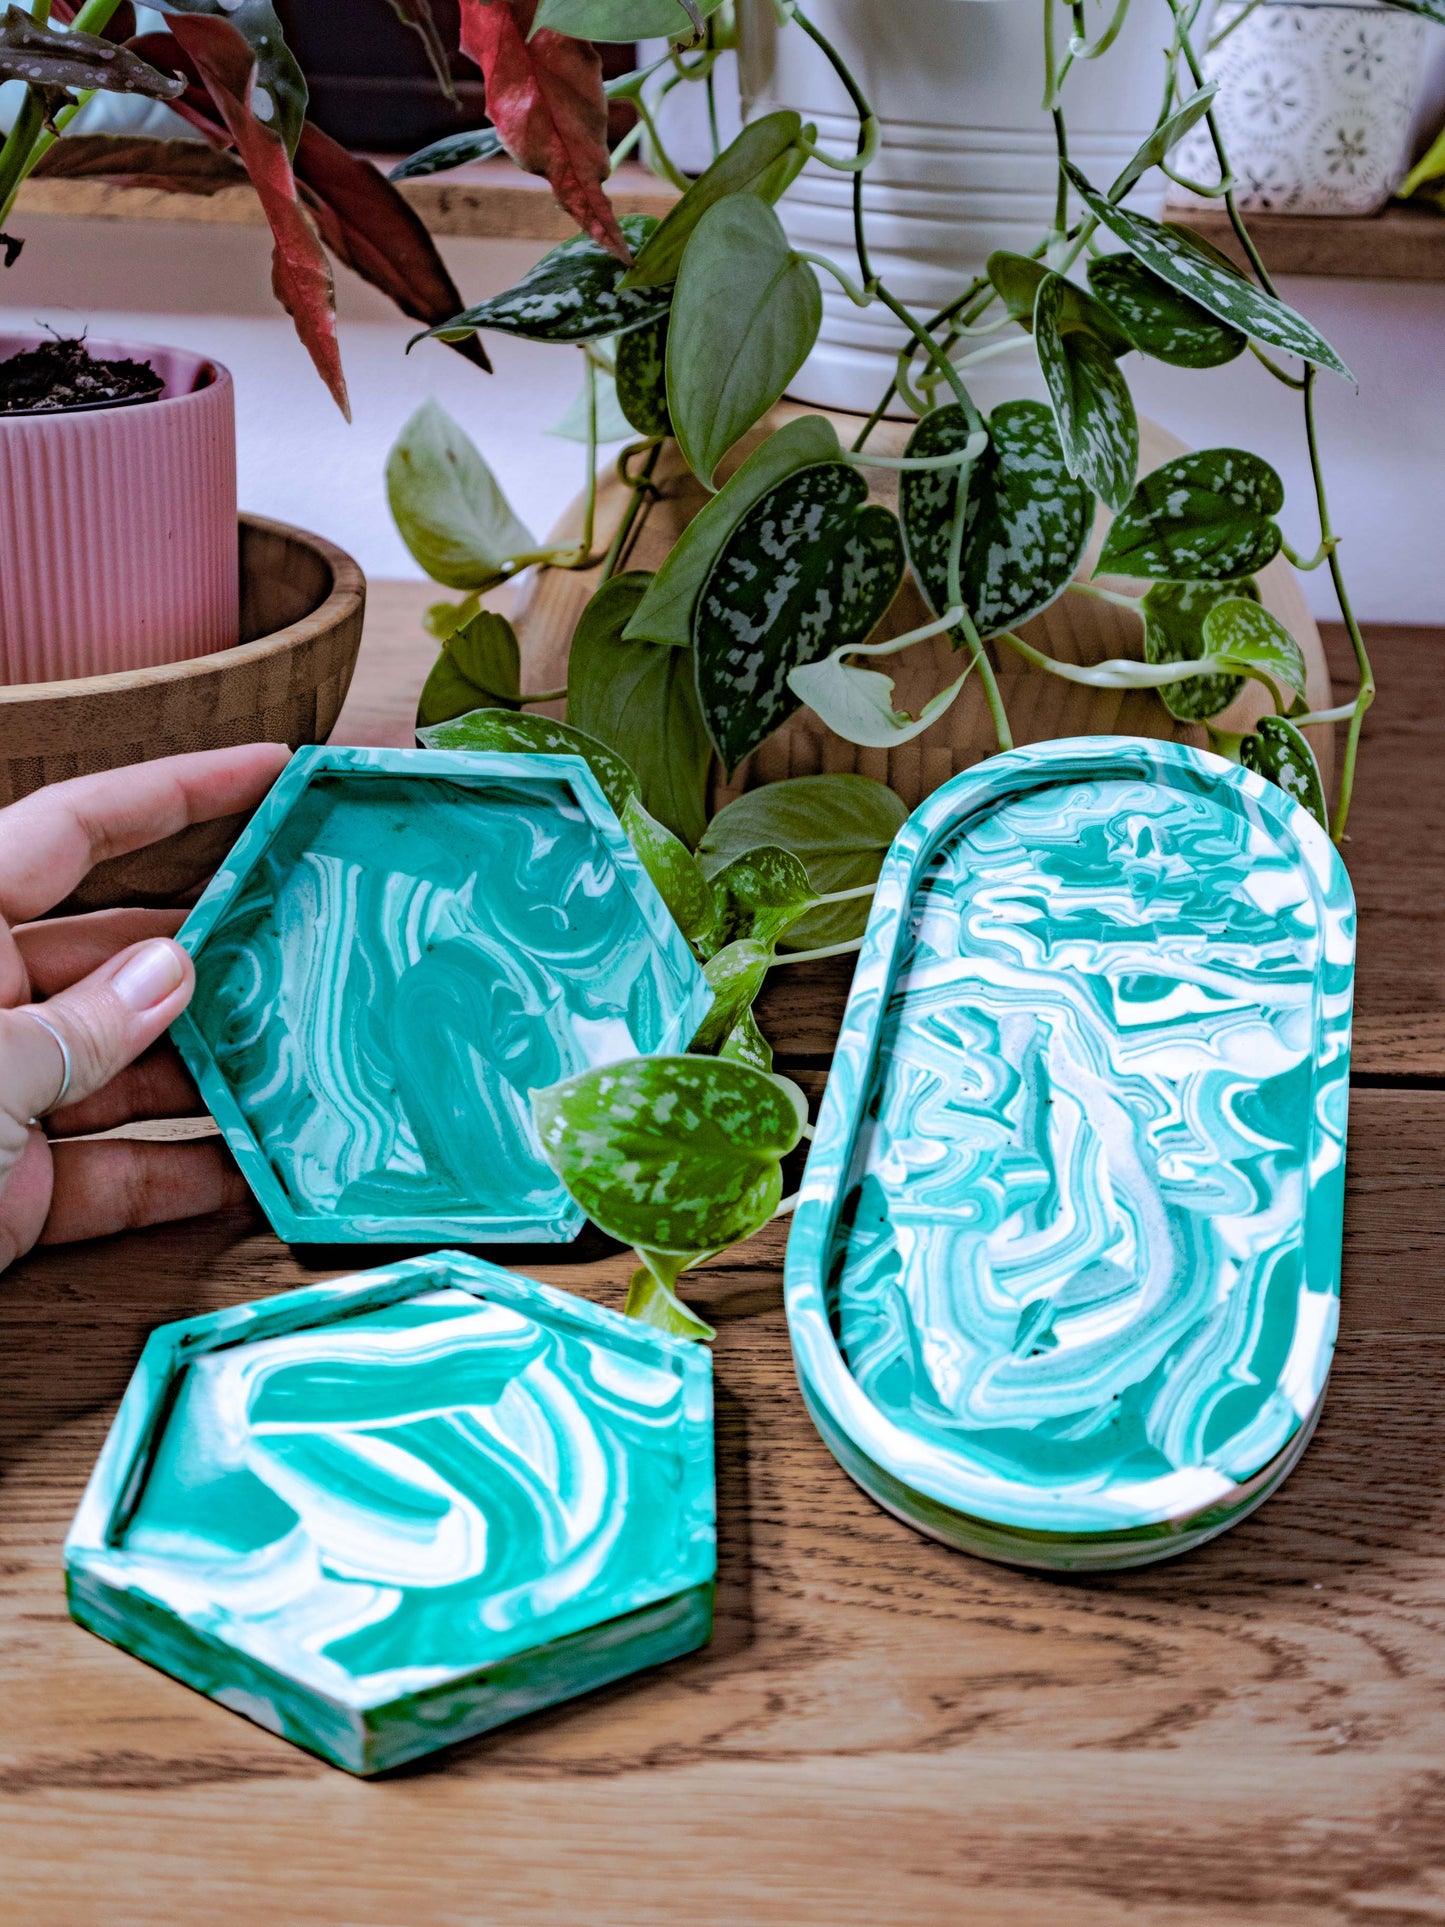
Product Details Make your tableware dreams come true with our DIY Resin Coaster Making Kit, featuring all the materials you need to create your own amazing custom coasters! What's included? 1 x 240ml set of epoxy resin (120ml part A, 120ml part B) 2 x irregular silicone coaster moulds 6 x holographic glitter sachets 6
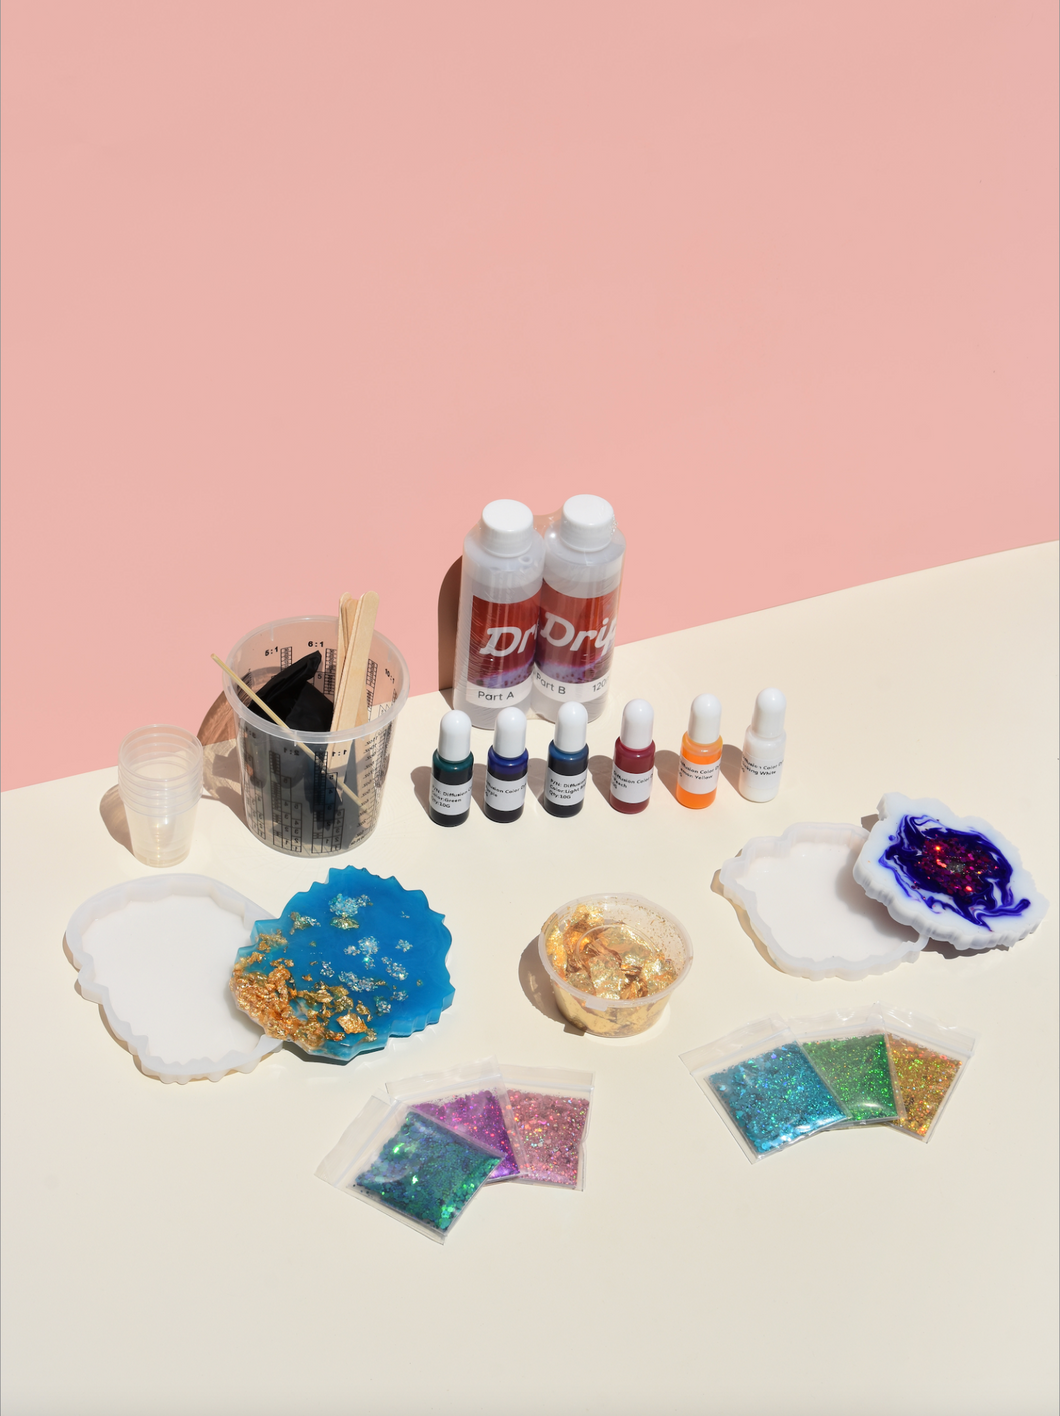
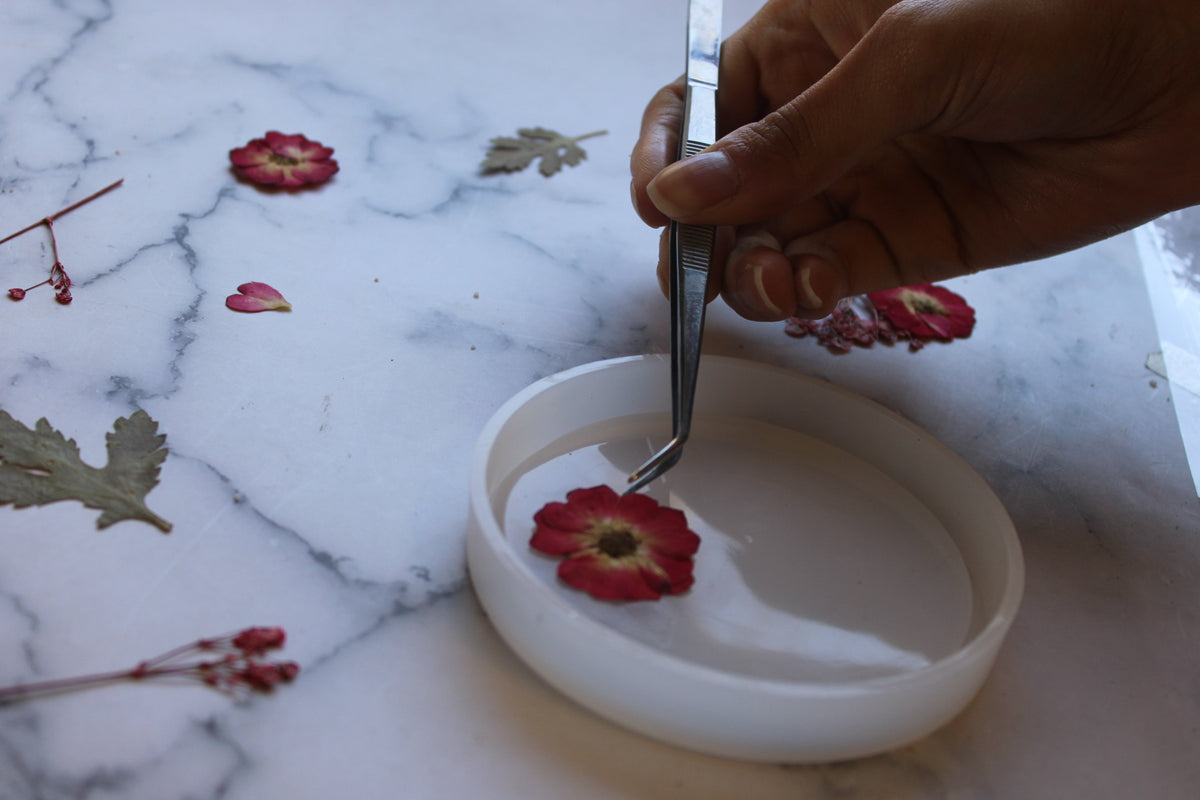
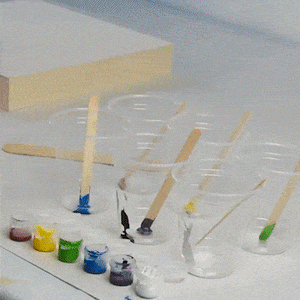
Product Details Make your tableware dreams come true with our DIY Resin Coaster Making Kit, featuring all the materials you need to create your own amazing custom coasters! What's included? 1 x 240ml set of epoxy resin (120ml part A, 120ml part B) 2 x irregular silicone coaster moulds 6 x holographic glitter sachets 6 x alcohol based inks 1 x tub of gold foil flakes 1 x 300ml measuring cup 5 mixing cups 5 mixing sticks 1 x pair of disposable gloves Safety data sheet and instructions Create endless coaster combinations with the included inks, gold foil and glitter; these silicone coaster moulds are reusable and durable, meaning you can get multiple uses out of the one kit. To maximise the versatility of this coaster kit, add an epoxy pigment palette for opaque saturated colours and a different effect. The 240ml resin set is a little more than enough to fill the 2 included coaster moulds. We recommend adding an extra set of resin if you're wanting to create more than 2 coasters. Instructions 1. Prepare your workspace. Cover your table with a disposable plastic tablecloth or some cling wrap to protect it from the resin, lay out your mould and supplies and pop your gloves on 2. Mix equal parts A and B resin together in your measuring cup. We recommend mixing all your resin to fill both moulds once. You will have a little extra resin left over so have another mould or small project ready to use up any left over resin! Make sure you pour exactly 50% A and 50% B or your resin may not cure completely hard. Stir your resin thoroughly for 2 minutes, ensuring to scrape the sides and the bottom edge so that it is all incorporated 3. Work your magic! - For glitter or gold foil, mix with clear resin before adding to your moulds. - For all-over coloured resin, decant some resin into a mixing cup and mix in 5-10 drops of dye - For more intense and speckled colour effects, pour clear resin into your moulds and then add droplets of dye over the clear resin. Swirl a mixing stick through the dye drops to blend the colours slightly. Experiment with this effect and have fun with it! Avoid adding more than 15 drops of dye per coaster as this may impact the resin's ability to cure 4. Once you have poured your designs into the moulds leave them to cure for 24hrs before demoulding. Enojy!
Product Details Make your tableware dreams come true with our DIY Resin Coaster Making Kit, featuring all the materials you need to create your own amazing custom coasters! What's included? 1 x 240ml set of epoxy resin (120ml part A, 120ml part B) 2 x irregular silicone coaster moulds 6 x holographic glitter sachets 6 x alcohol based inks 1 x tub of gold foil flakes 1 x 300ml measuring cup 5 mixing cups 5 mixing sticks 1 x pair of disposable gloves Safety data sheet and instructions Create endless coaster combinations with the included inks, gold foil and glitter; these silicone coaster moulds are reusable and durable, meaning you can get multiple uses out of the one kit. To maximise the versatility of this coaster kit, add an epoxy pigment palette for opaque saturated colours and a different effect. The 240ml resin set is a little more than enough to fill the 2 included coaster moulds. We recommend adding an extra set of resin if you're wanting to create more than 2 coasters. Instructions 1. Prepare your workspace. Cover your table with a disposable plastic tablecloth or some cling wrap to protect it from the resin, lay out your mould and supplies and pop your gloves on 2. Mix equal parts A and B resin together in your measuring cup. We recommend mixing all your resin to fill both moulds once. You will have a little extra resin left over so have another mould or small project ready to use up any left over resin! Make sure you pour exactly 50% A and 50% B or your resin may not cure completely hard. Stir your resin thoroughly for 2 minutes, ensuring to scrape the sides and the bottom edge so that it is all incorporated 3. Work your magic! - For glitter or gold foil, mix with clear resin before adding to your moulds. - For all-over coloured resin, decant some resin into a mixing cup and mix in 5-10 drops of dye - For more intense and speckled colour effects, pour clear resin into your moulds and then add droplets of dye over the clear resin. Swirl a mixing stick through the dye drops to blend the colours slightly. Experiment with this effect and have fun with it! Avoid adding more than 15 drops of dye per coaster as this may impact the resin's ability to cure 4. Once you have poured your designs into the moulds leave them to cure for 24hrs before demoulding. Enojy!

Mod Podge Do-It-Yourself High Gloss Resin Coaster Kit for Unisex

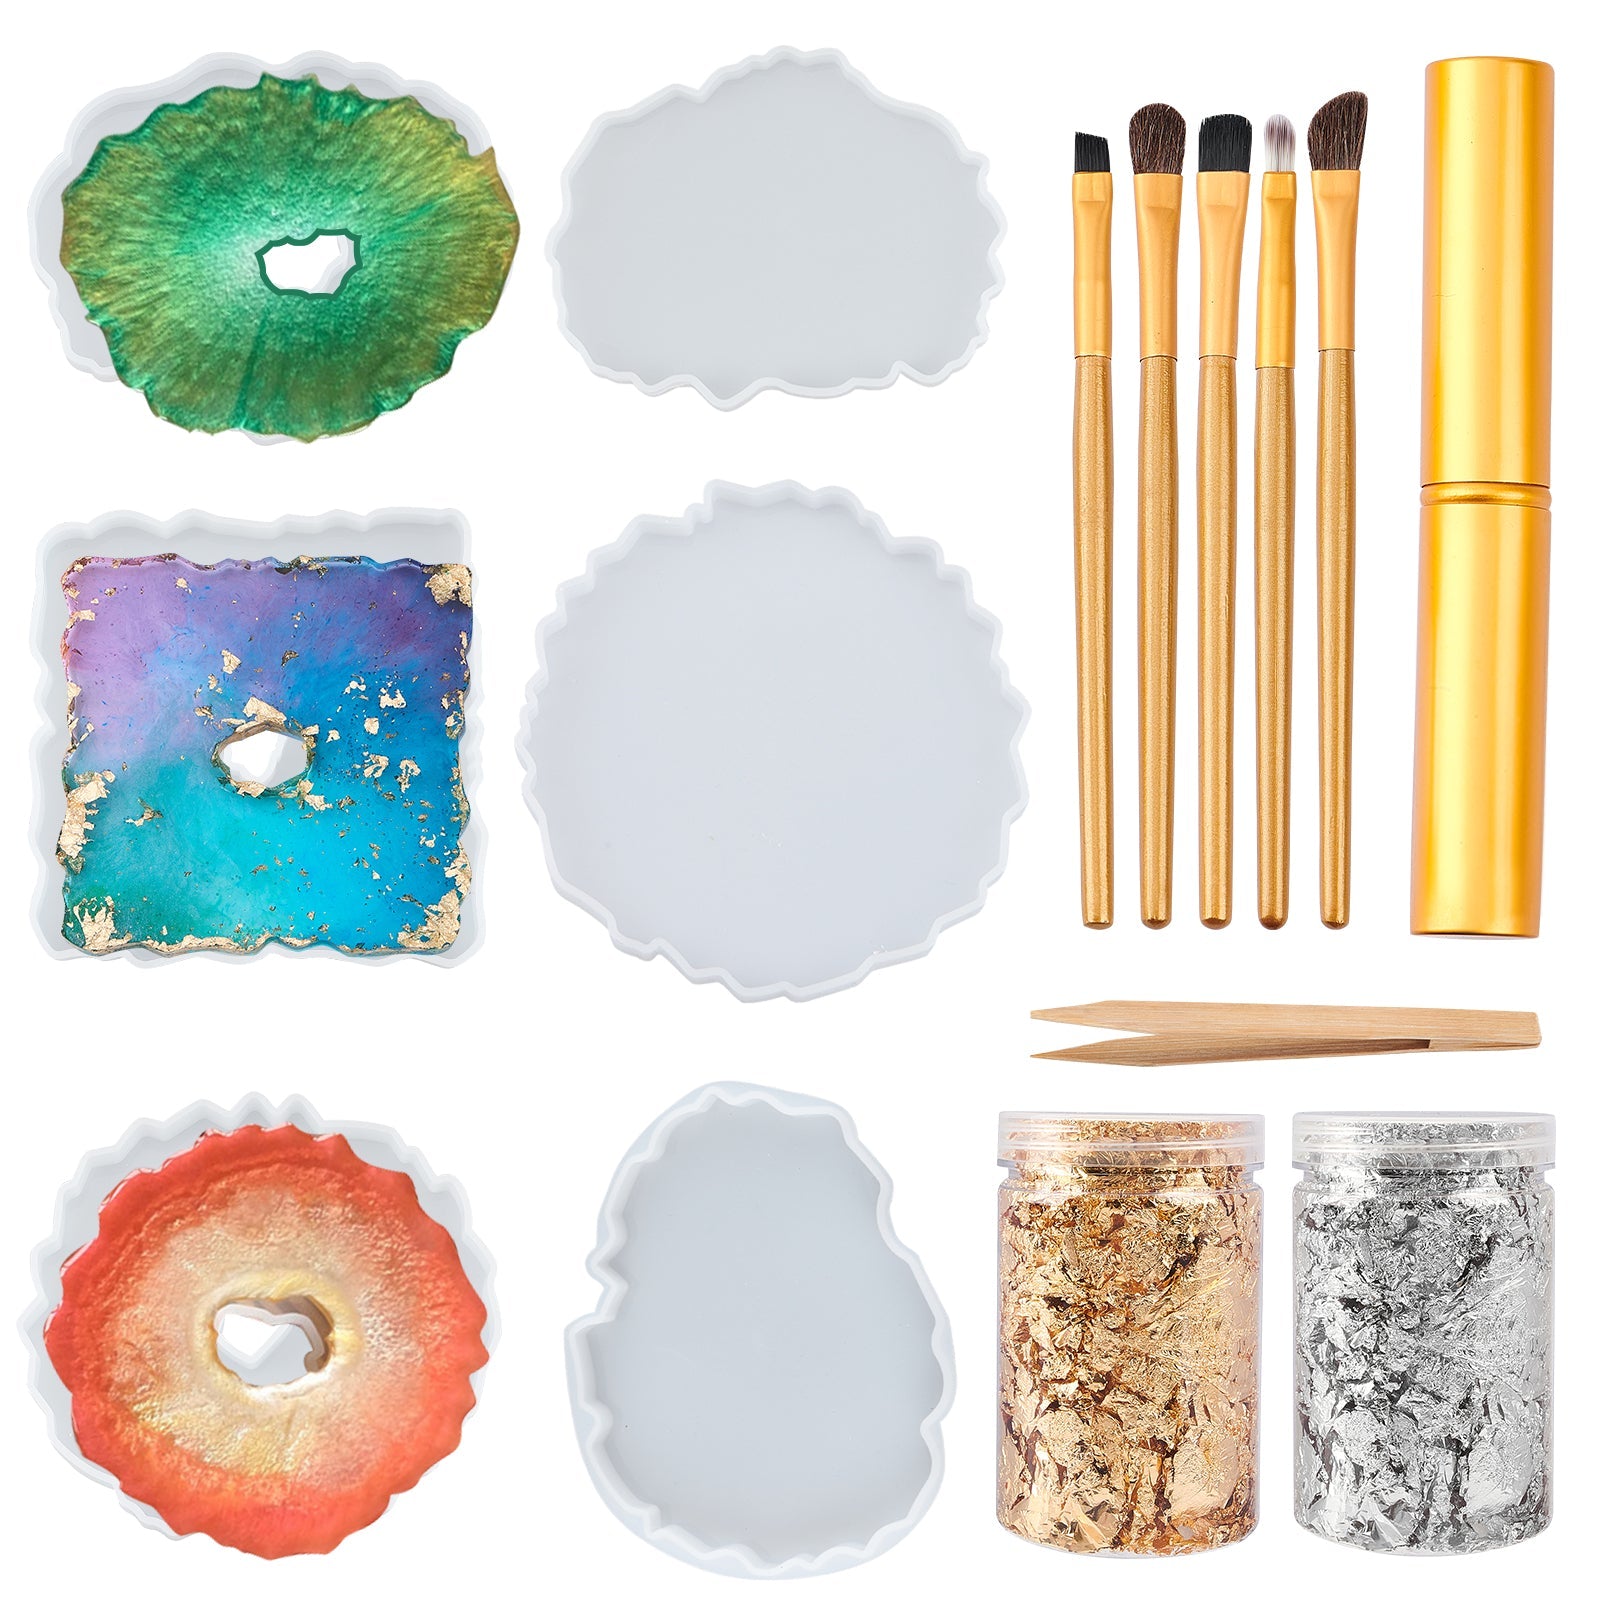
LET'S RESIN Epoxy Resin,Resin Coaster Molds Kit,16oz
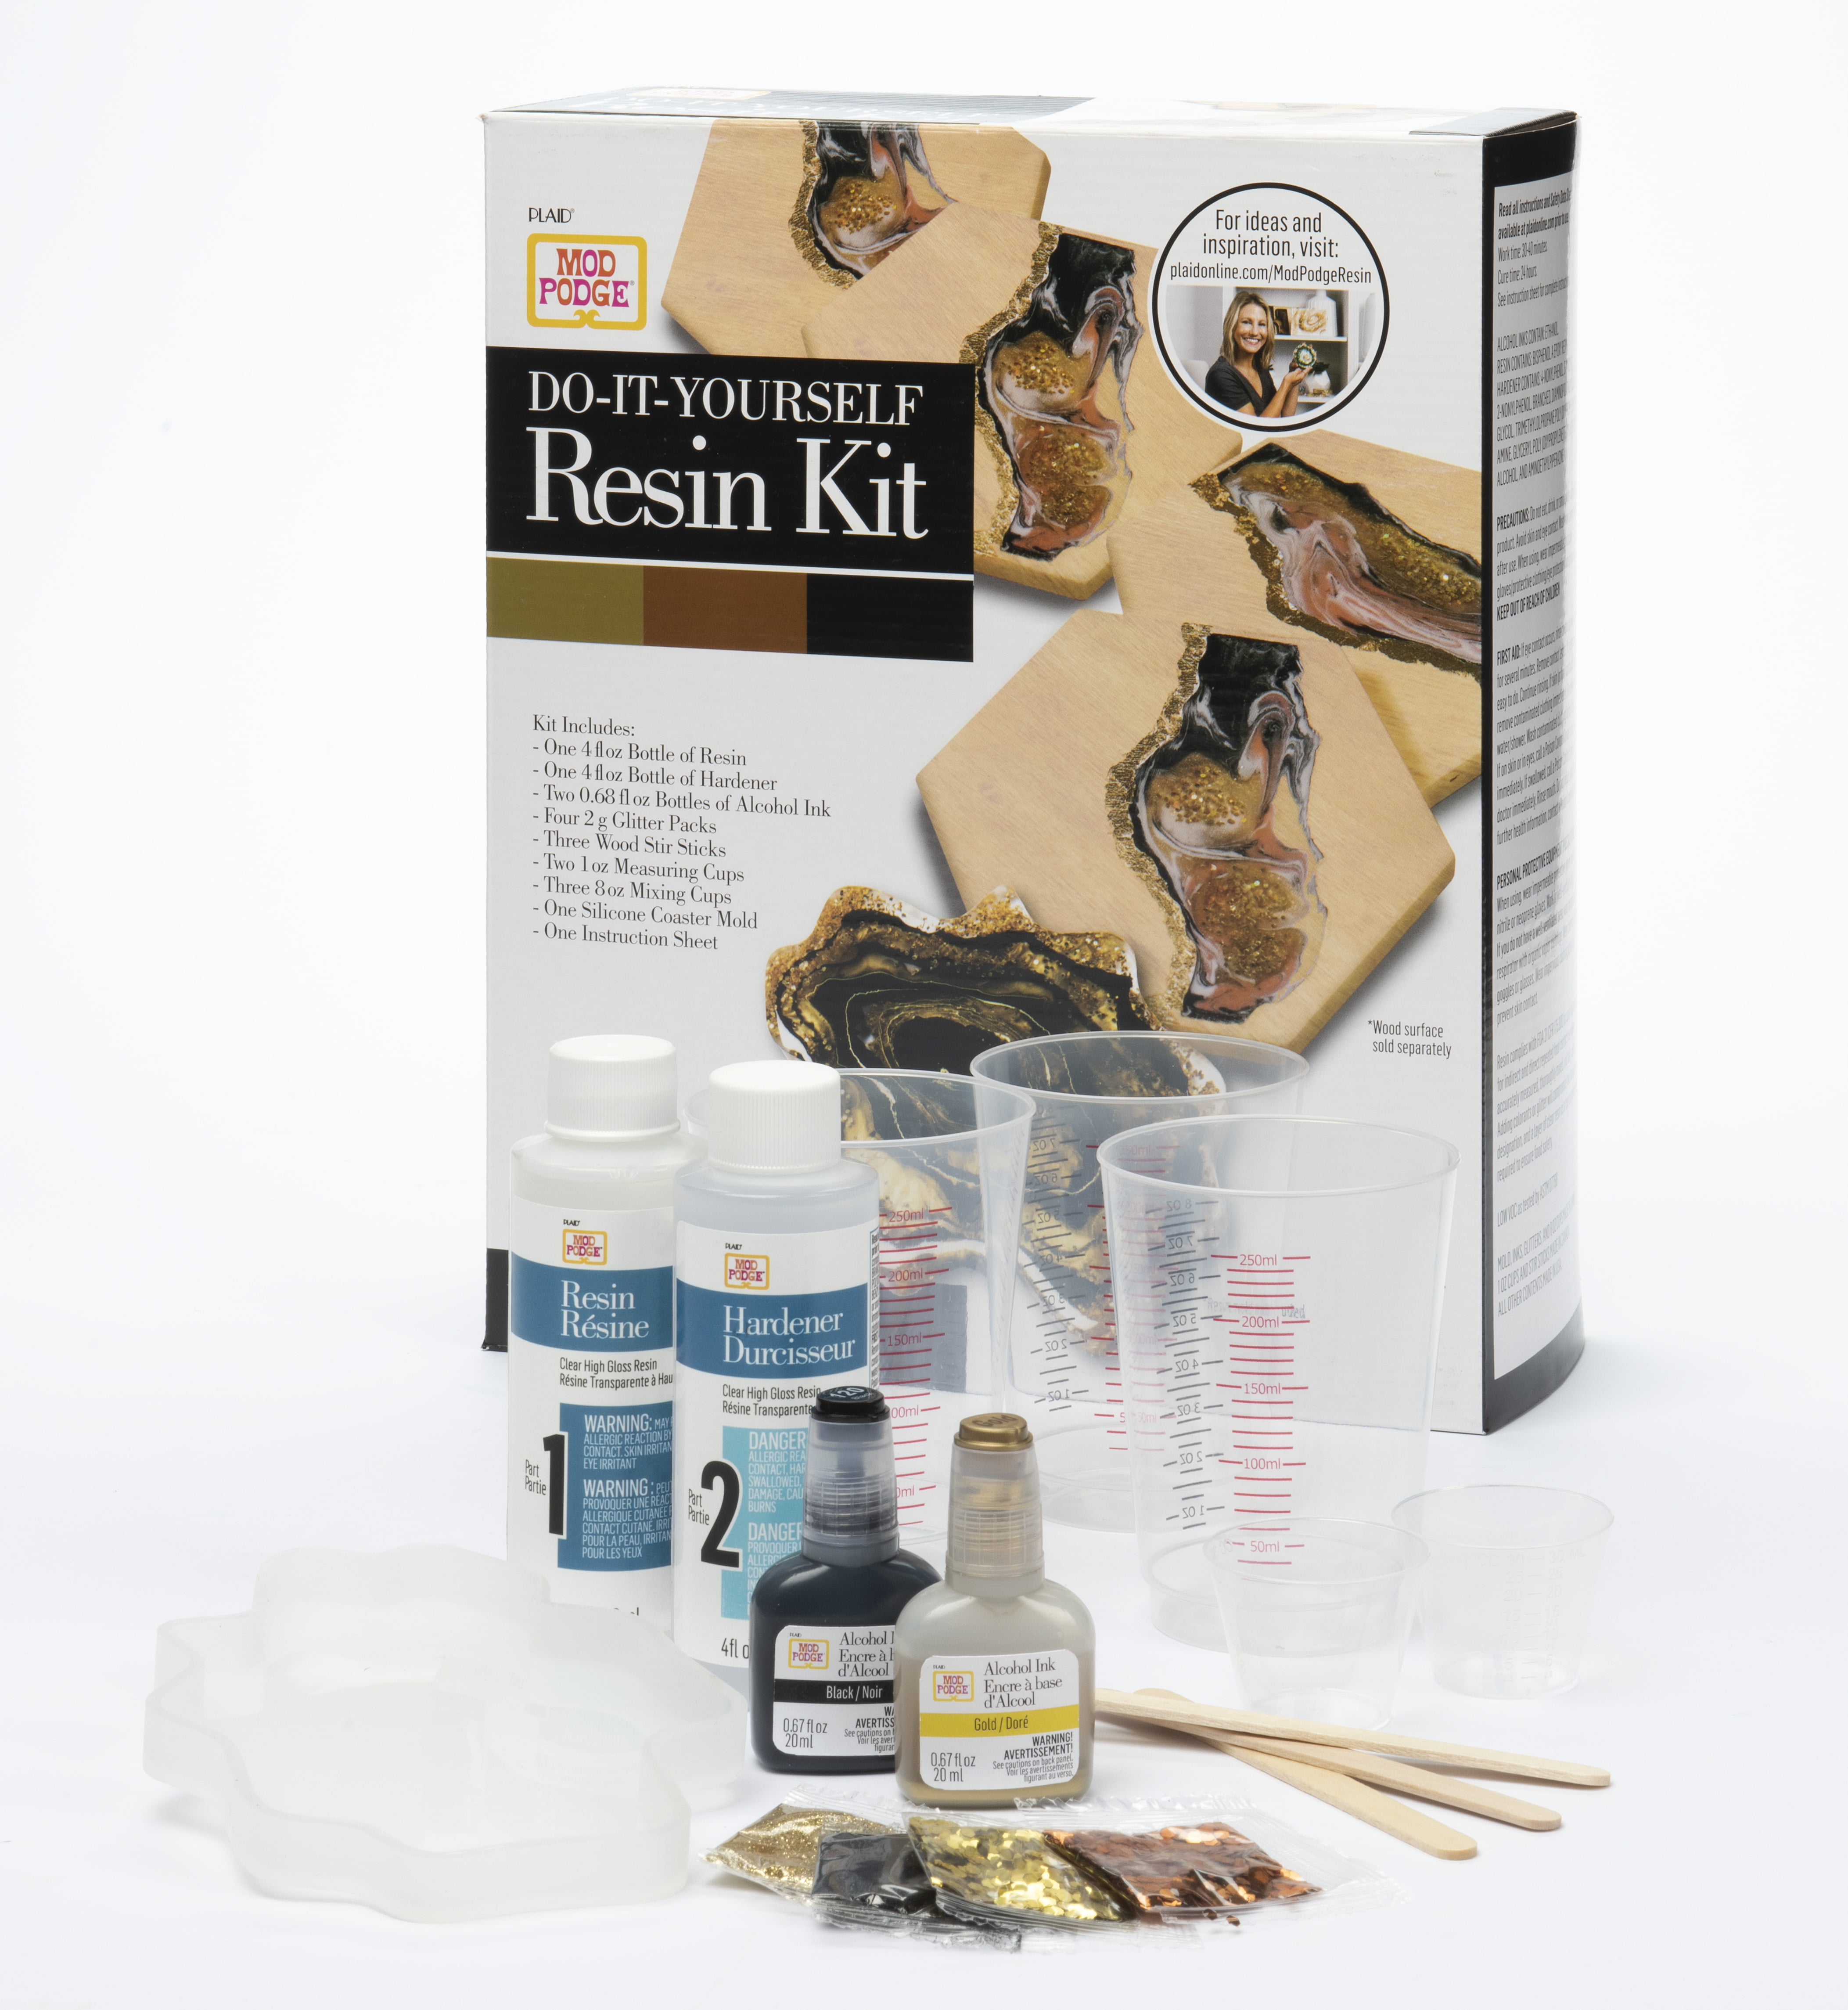
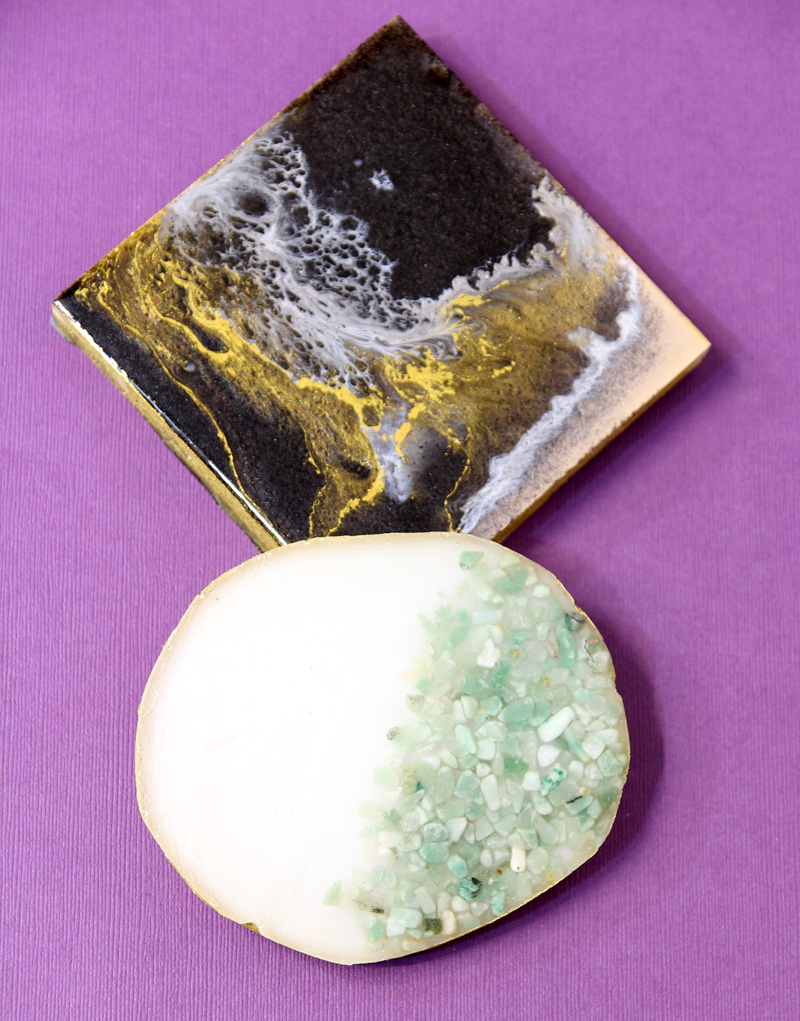
Mod Podge Do-It-Yourself Resin Coaster Kit, Geode, Black and Gold

KISREL 1 Gallon Crystal Clear Epoxy Resin Kit, No

DIY Epoxy Resin Coasters, Making Coasters with Resin
DIY Resin Art Coaster Kit – The Crafty Kit

GoodyKing Resin Jewelry Making Starter Kit - Silicone
Drippy - Epoxy Craft Resin Art Starter Kits
【Perfect Resin Starter Kit】:Includes 1/2 gallon crystal clear resin and hardener, 32 x mica powder packs(5g/pack), 3 x gold foil flakes (1g/pack), 2 x

KISREL 1 Gallon Crystal Clear Epoxy Resin Kit, No Yellowing No Bubble Resin Epoxy, Art & Casting Resin with 32 Mica Powders, Gold Foil Flakes, Craft

Zoncolor Bottle Resin Molds Silicone Kit - Night LED
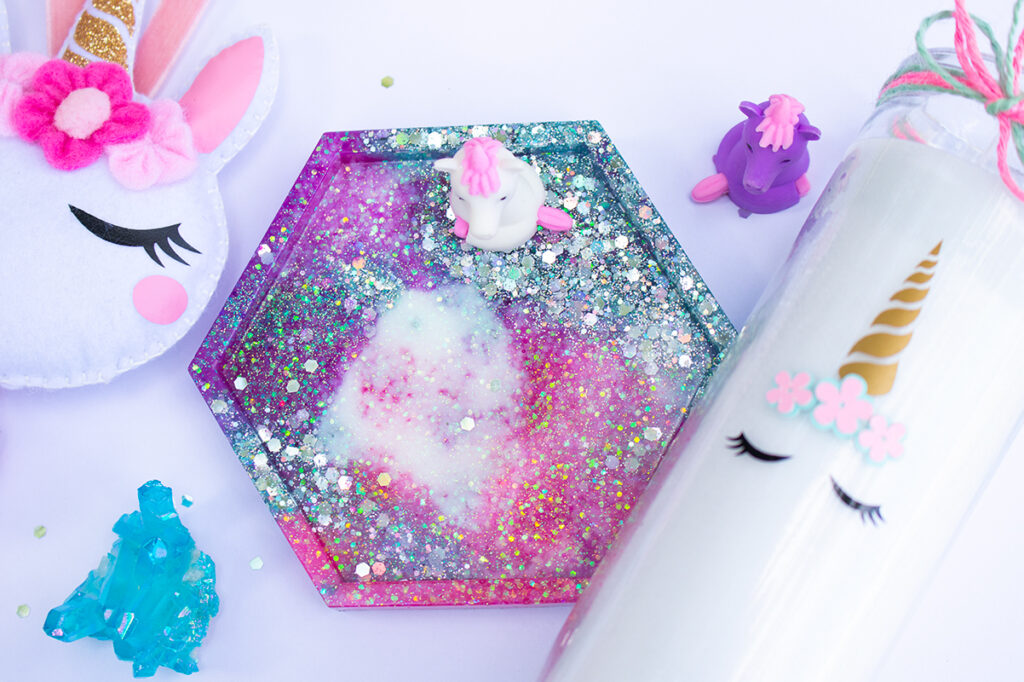
Easy Unicorn Glitter Epoxy Resin Coaster How To - Olivia OHern
DIY Epoxy Resin Coasters * Moms and Crafters

LET'S RESIN Epoxy Resin,Resin Coaster Molds Kit,16oz

Mod Podge Do-It-Yourself Resin Coaster Kit
Recommended for you
-
 LET'S RESIN Epoxy Resin,Resin Coaster Molds Kit,16oz Resin Starter Kit for Beginners,Include Epoxy Resin,Coaster Molds, and Mica Powder for Resin18 Jul 2024
 -
 LET'S RESIN Coaster Mold Kit With 10pcs Square and Round Coaster18 Jul 2024
 -
 Mod Podge, Coasters One Epoxy Kit Includes Hardener, Resin Molds Silicone, Glitter Packs, Cups, Inks and Stir Sticks, 25296E18 Jul 2024
 -
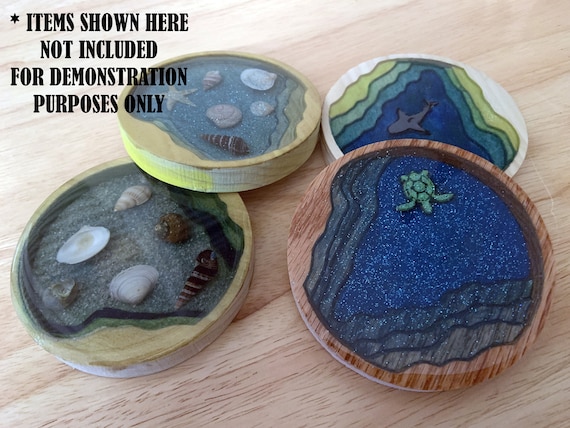 DIY Coaster Kit Beach & Ocean Coaster Kit for Epoxy Resin Do It18 Jul 2024
 -
 Step by Step Tutorial for Beginners - How to make Coasters. Resin18 Jul 2024
 -
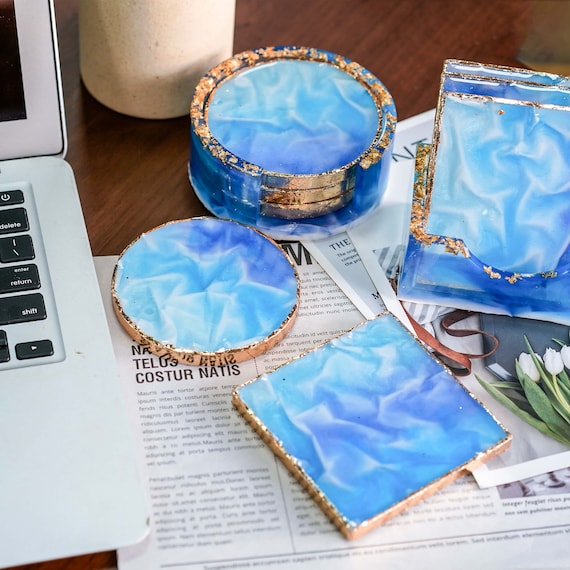
 Crystal Resin Coaster DIY Kit (50% Off) – Koofashion18 Jul 2024
 -
 Decorative Eco Resin coaster, tray, KIT, Jesmonite18 Jul 2024
 -
 CRASPIRE DIY Cup Mat Resin Casting Silicone Molds Kits, with Foil18 Jul 2024
 -
 Coaster Base Molde De Silicona Para Resina Cup Mat Epoxy Silicone Resin Mold With Dried Flower Gold Foil Tweezers Stirring Rod - AliExpress18 Jul 2024
 -
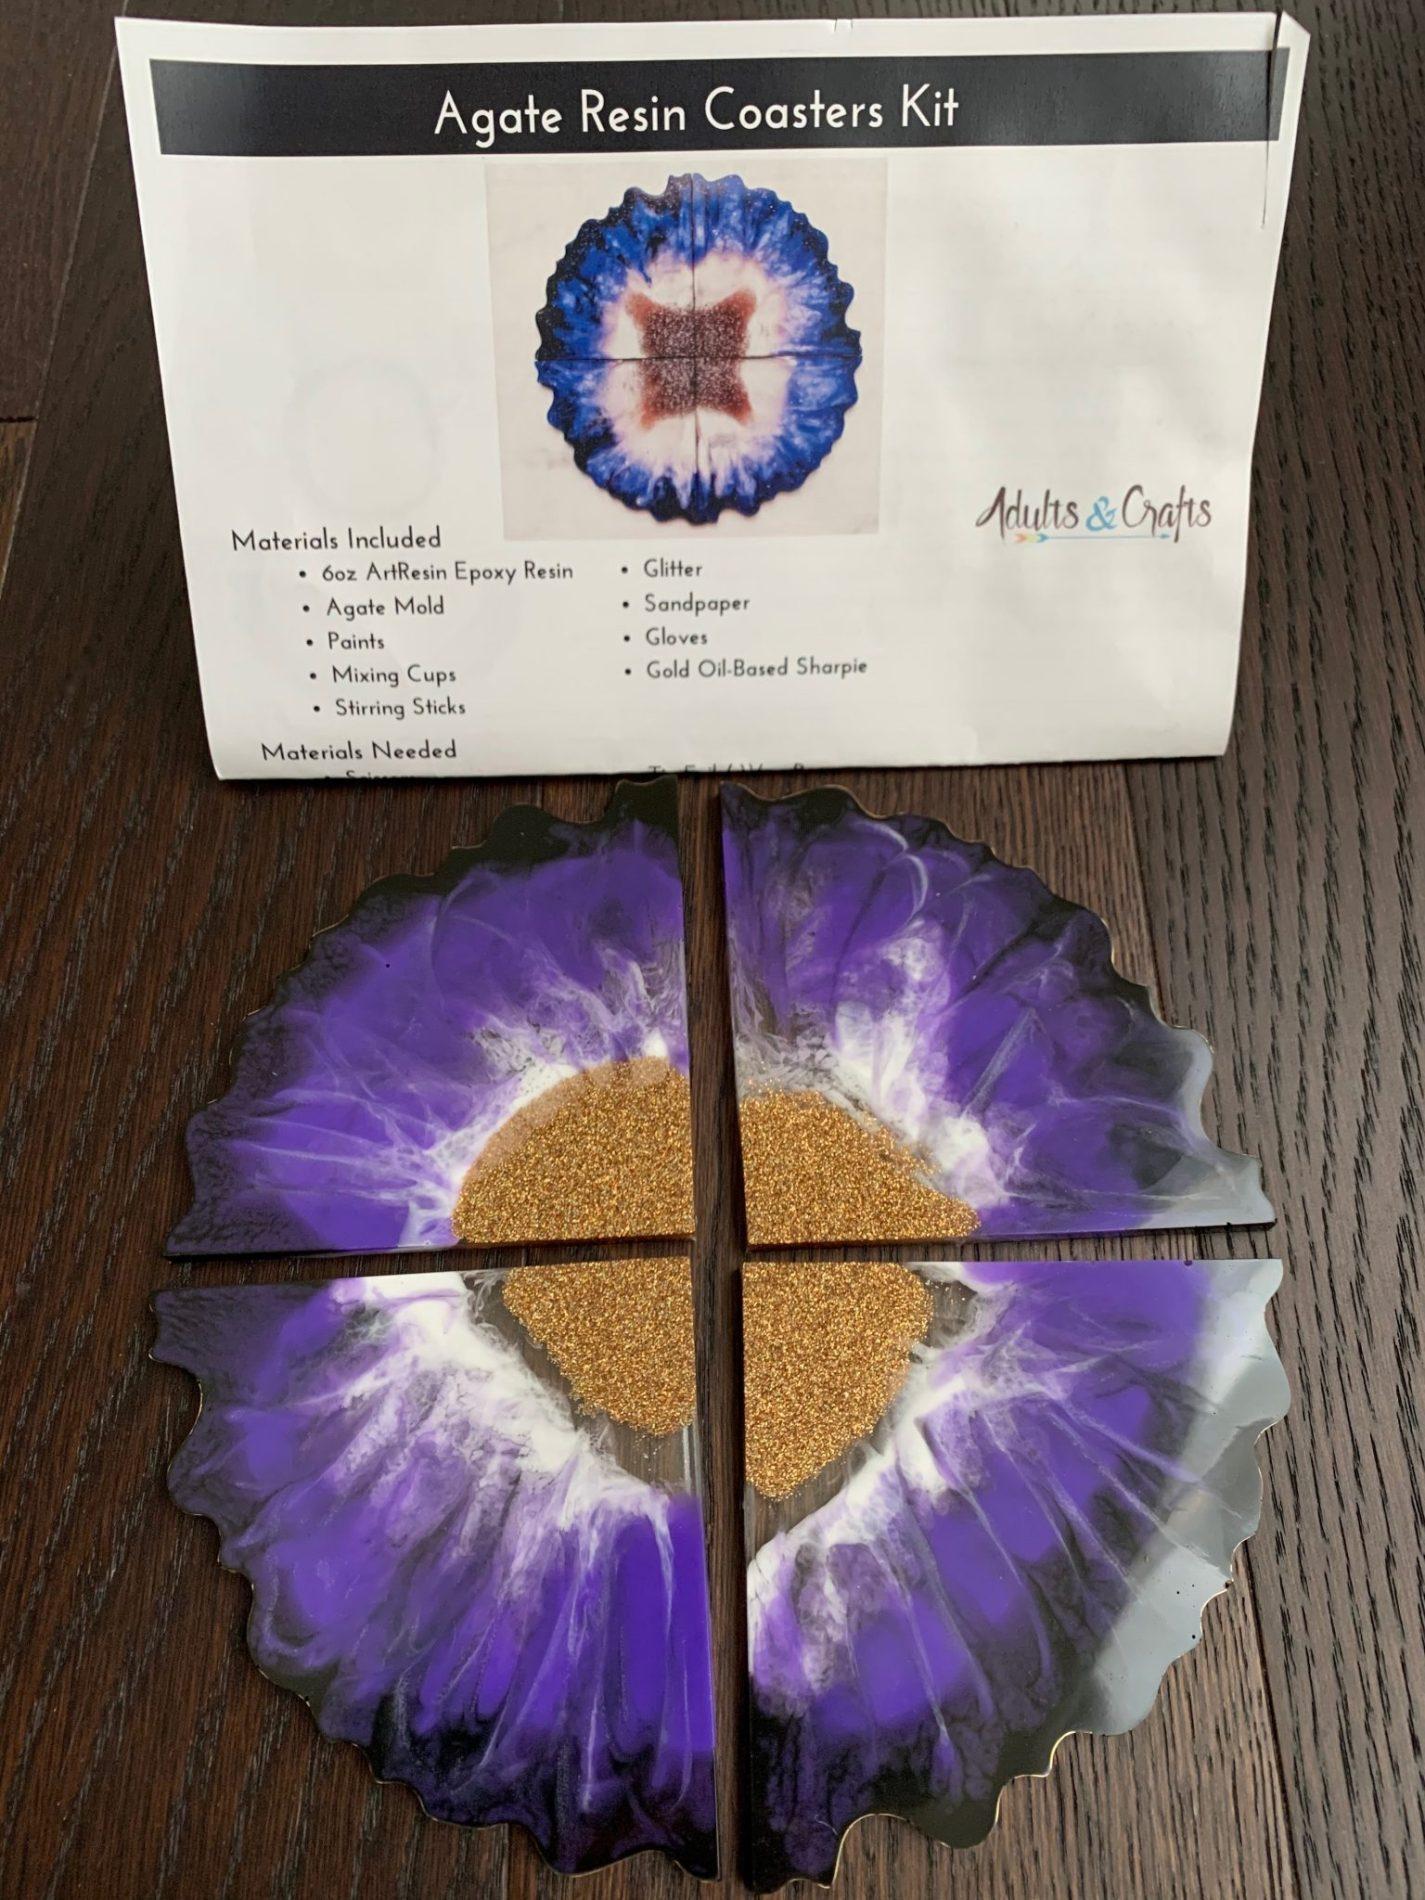 Adults & Crafts Review - Agate Resin Coasters Kit - Subscription Box Ramblings18 Jul 2024
You may also like
-
 5 Pieces Mini Metal Funnels For Filling Small Bottles Transferring Liquid Refill Perfume Essential Oil Dispensing Tool18 Jul 2024
 -
 Cute Pink Barbies Doll With holder Phone Case For Iphone 11 12 13 14 Pro Max X Xs Xr 7 8 Plus SE 2020 Soft Silicone TPU Cover18 Jul 2024
 -
 TERGAYEE Stamps and Dies for Card Making,Card Making Supplies,DIY18 Jul 2024
 -
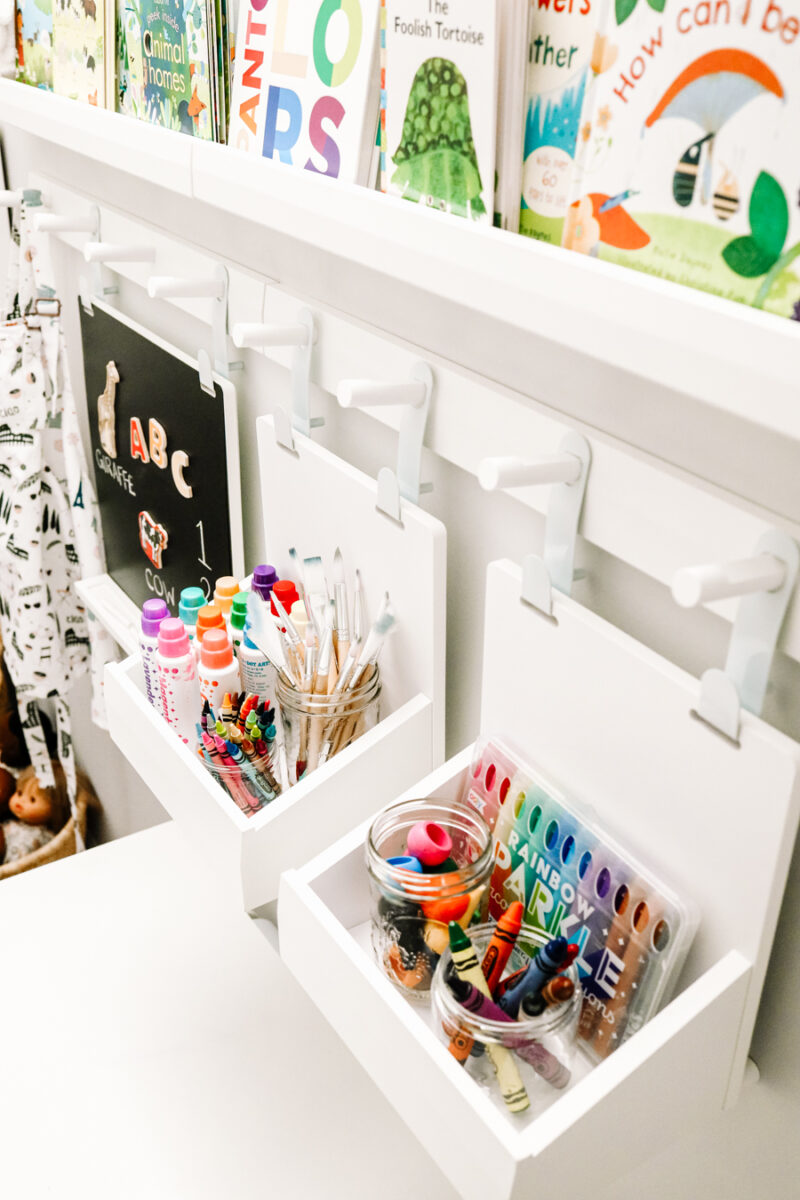 Kids Art Table and Wall Storage18 Jul 2024
 -
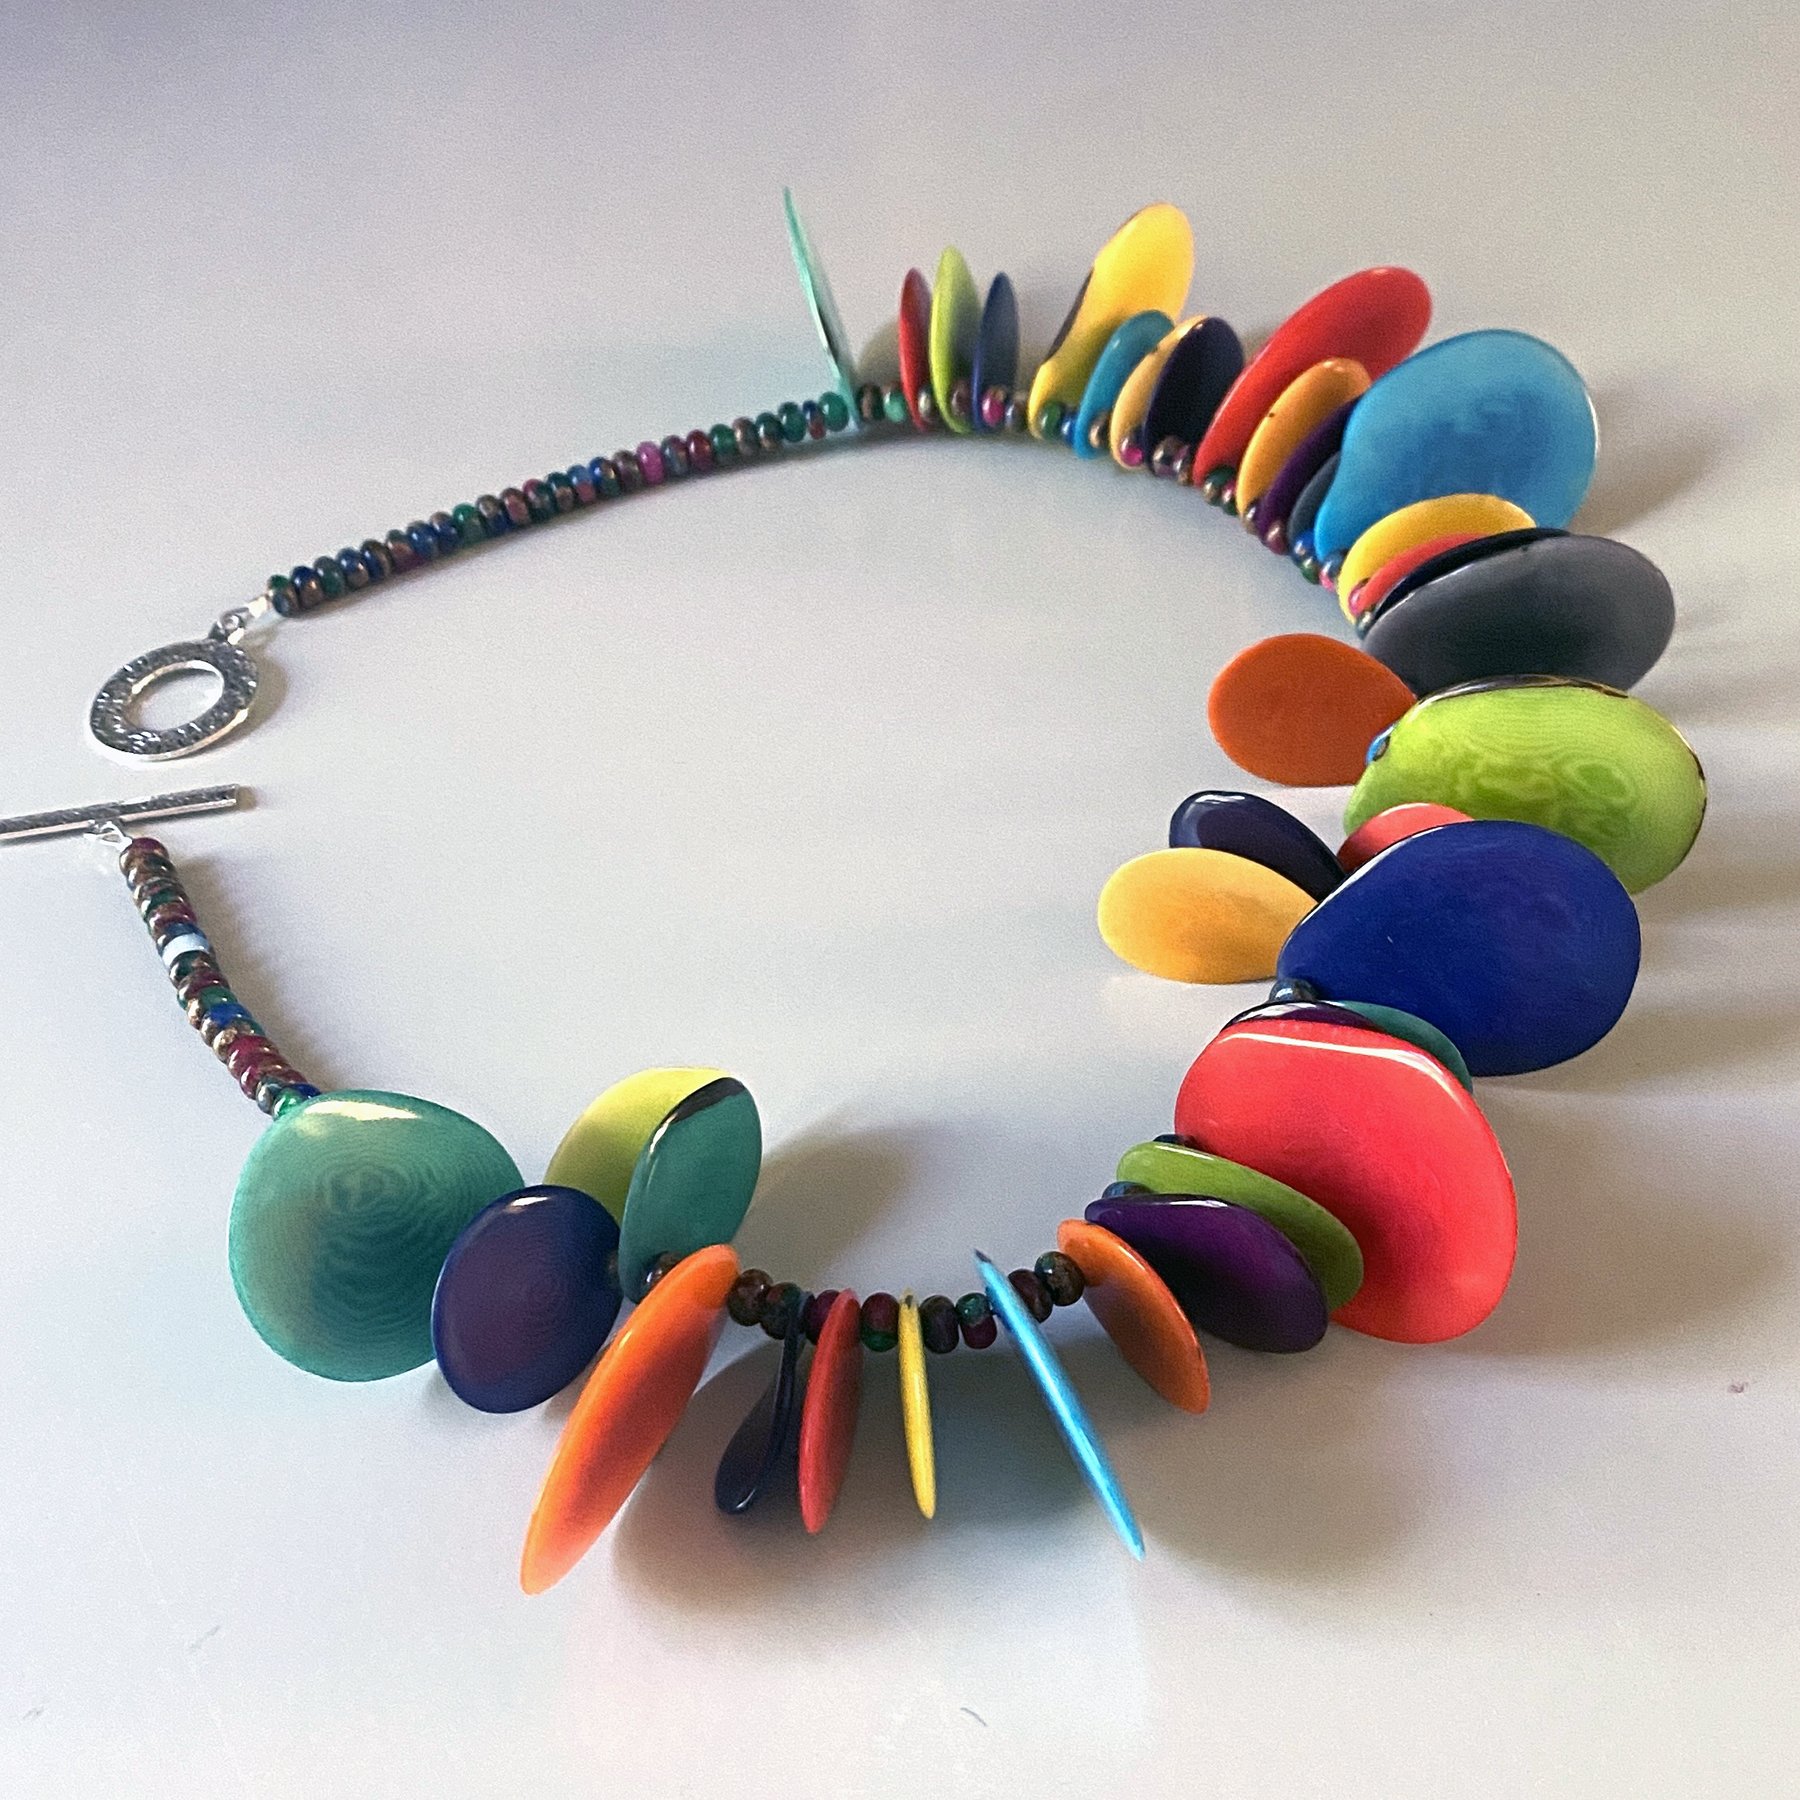 Dyed Tagua Nut Slices, Multi-Colored Resin Beads (Multi-colored) - 21.5 inches — Ventana Fine Art - Art Galleries Santa Fe NM - Contemporary Artist18 Jul 2024
 -
 JASON ARCILLA: The Voice contestant18 Jul 2024
 -
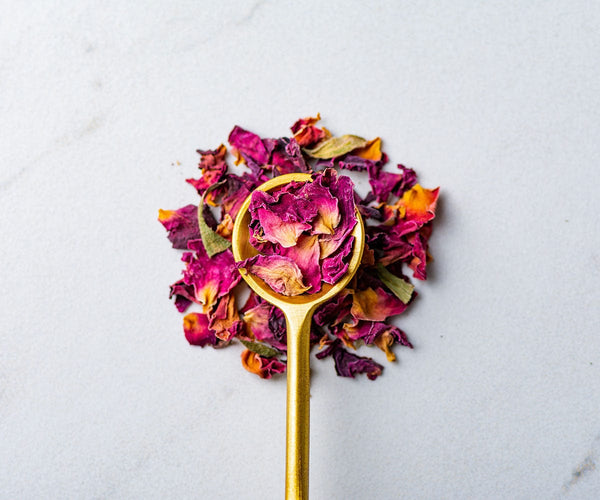 Dried Edible Rose Petals: Dehydrated for Culinary Uses18 Jul 2024
 -
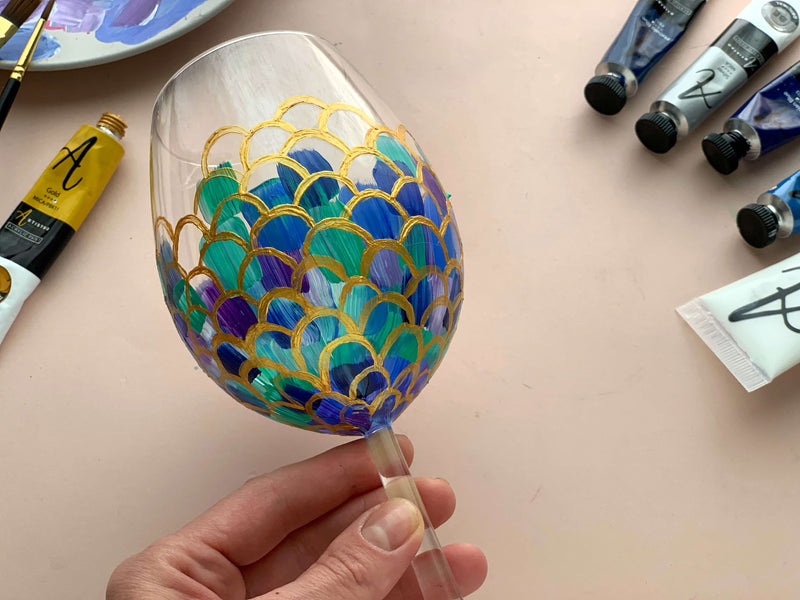 How to paint wine glasses:Wine glass painting ideas & glass painting ideas18 Jul 2024
 -
 Hangman S2040 Simple Wall Mount TV Hanger S2040 - Adorama18 Jul 2024
 -
 Sublimation Coaster Blanks Products,Sublimation Cup Coasters Rubber Cup Mat for Heat Transfer Printing Crafts,Projects, White18 Jul 2024